

Taking product photos isn’t always the first thing you think about when setting up your online store, and how to take product photos might not even be on your mind when you take the first steps to launching your business. However, the images you use for your products can mean the difference between a customer purchasing or walking away. Unpolished and busy images could result in a lot of lost revenue.
You might think “I’m not a professional photographer, how can I do this?” A good camera is not a cheap investment and neither are the accessories you might be tempted to buy in hopes they amp up your photography skills. But you don’t need to worry as much as you think. Taking great quality photos can be done with very little money, using equipment you already own like your smartphone. If you did want to make the investment you can purchase a few extras that will massively elevate your image.
Let’s go through the steps you should take to learn how to take good product photos, ensuring they are high quality and high converting. Plus some options if taking your own images isn’t something you can or want to do.
Post ContentsShow
- How to Take Product Photos Step 1: Research
- How to Take Product Photos Step 2: Gather Your Equipment
- Camera
- Lighting
- Tripod
- How to Take Product Photos Step 3: The Set Up
- White Background Photos
- Lifestyle Photos
- Flatlay
- How to Take Product Photos Step 4: Take The Photos
- How to Take Product Photos Step 5: Editing
- 1. Lightroom (mobile and desktop)
- 2. Snapseed (mobile)
- 3. Photoshop (mobile and desktop)
- 4. GIMP (desktop)
- 5. VSCO (mobile)
- Good Product Photos: Examples
- Using Experts For Product Photography
How to Take Product Photos Step 1: Research
Your first step for creating professional product photos should be research. Get inspired by what other brands are doing.
We recommend two types of photos; one that displays your product with a simple, neutral background, and a second photo with the product in use, or with additional decoration to jazz it up. The second photo often requires a bit more creativity, which is why research can be helpful to get you inspired. Looking at competitors or businesses that you think have excellent images can be a great starting point.

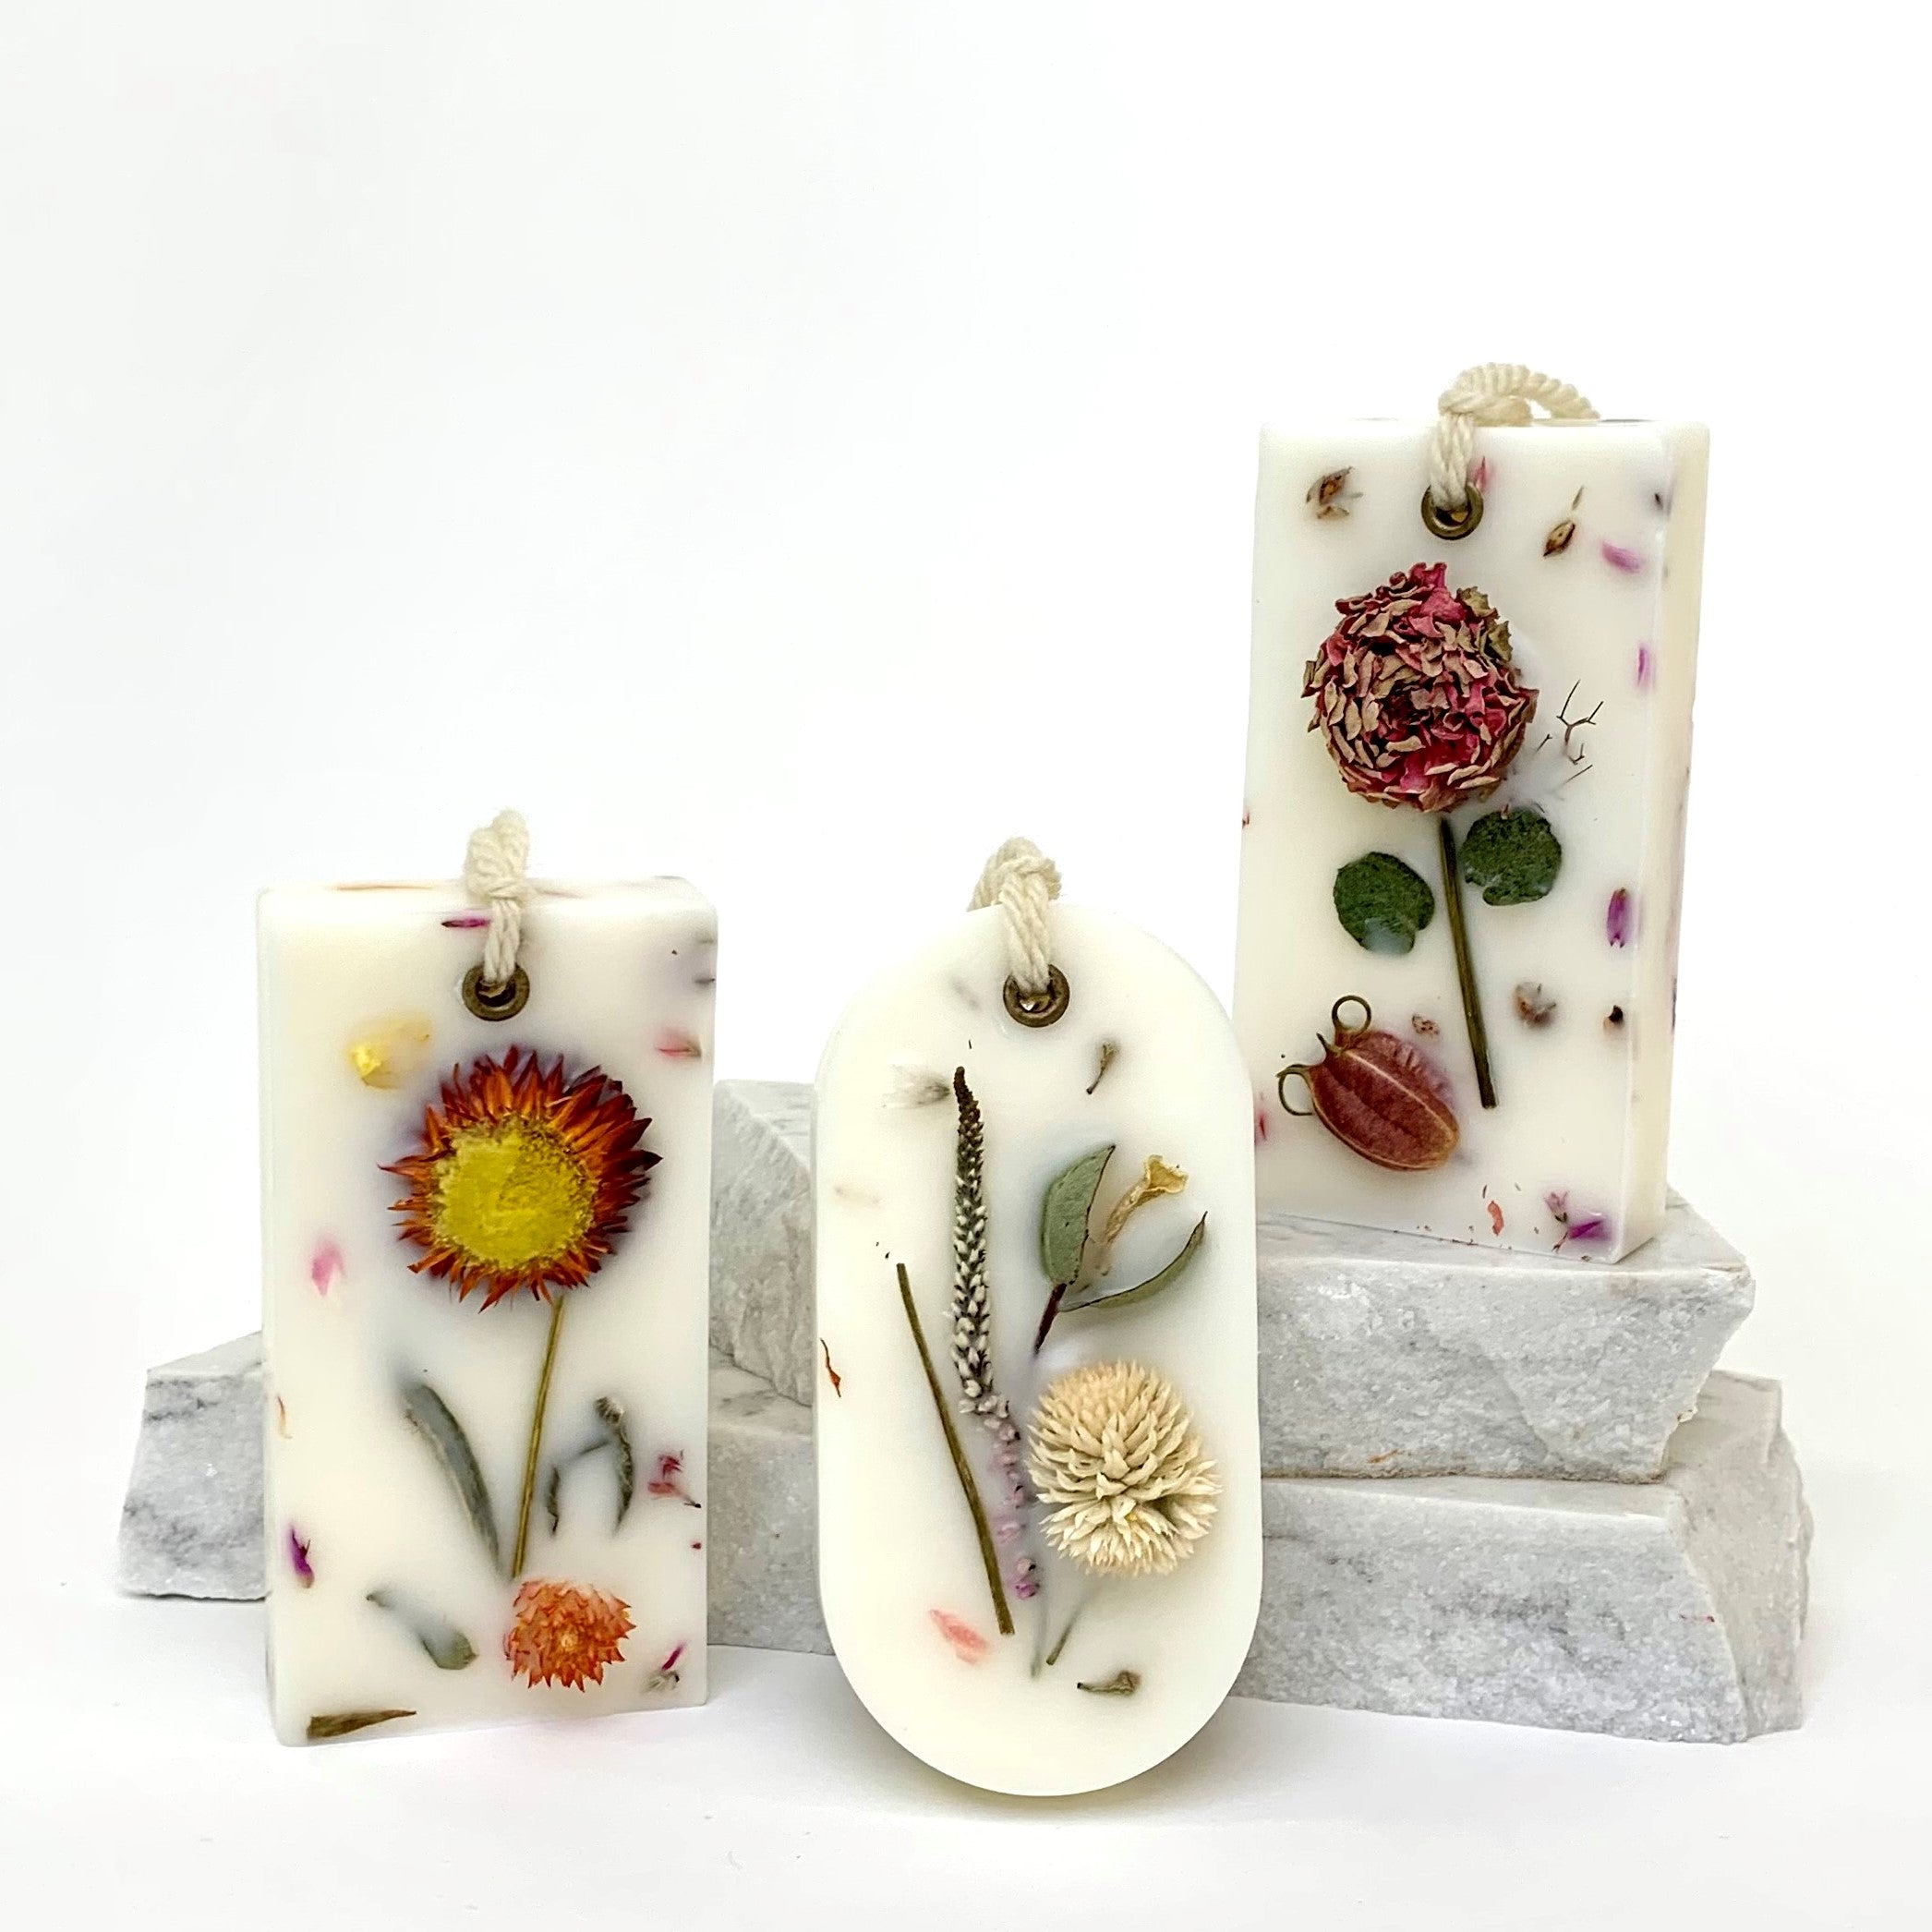
Some examples of stores with great images are Wato, Nature Supply Co., and The Loomia. These brands have high-quality photos that show their products in use and by themselves. Their images are clear and not overly cluttered, which displays their products in a way that entices potential buyers. Look to brands like this for inspiration, as well as brands within your niche, and you can figure out the best way to snap pictures perfect for your store. Doing this will help you get an idea of the number of images you should provide, the angles you could show the product from, and how to design a lifestyle photo or flat lay. Another added advantage of looking through other brands’ stores is you’ll also be able to gain an idea of where you can improve and stand out from your competitors.
How to Take Product Photos Step 2: Gather Your Equipment
Camera
You can easily learn how to take product photos with an iPhone or any other smartphone. Any recent generation smartphone will have a high quality camera built right in. No need for more equipment if it isn’t in your budget or not something you’re interested in investing in. If you have a DSLR camera available – or simply want to purchase one – that’s fantastic, however, it is not necessary. A smartphone can still result in clear, crisp photos.
Lighting
Other equipment you could consider would be a photo light box, which can be cheap and really help if you don’t have the best lighting situation. A light box is an empty box with translucent, white sides that helps to bounce and diffuse light, and gives a cohesive background to your image. You put your product in the box and take a photo. Very simple. You could also look into something like an aperture light, which can be bought fairly cheaply, and will make a huge difference if you aren’t able to work with natural light. This works in cases where a light box won’t, such as a lifestyle photo. If you’re unsure about lighting and what you need, learn about your options in the video below.
Tripod
A tripod is also a great tool to ensure your product photos are sharp and reduce any blur you might experience from holding the phone or camera in your hand. It doesn’t have to be expensive and many models often work with both a smartphone and a DSLR. Most tripods can also extend to different heights making them versatile for different product photos.
How to Take Product Photos Step 3: The Set Up
So now you have your inspiration, and your equipment. Next, it’s time to create your product photography setup. If you have a lot of products to take photos of it can be a good idea to take them at once using one setup, then move on to a new setup if you’re taking different types of photos. This can save you some time now and later when editing. Different types of photos usually require different lighting, planning and accessories.
White Background Photos
White background photos are the more common product photo style, and can be quick to set up. If you’re new to photography, start with plain background photos to get a feel for things before moving on to staged photos. This will help you to gain a better understanding of lighting and the angles where your product looks best.
For plain backgrounds you’ll want to make sure you have great lighting to avoid excessive shadows, or be prepared to alter it later and clean up anything amiss during editing. Having some shadow is great though as it is more natural looking – your photos should still look natural.
Try taking photos from various angles before moving on. You’ll want to showcase your product from all sides to give your customer a better idea of what the product looks like. Close up shots are also a good idea to show the finer details of the product.
Lifestyle Photos
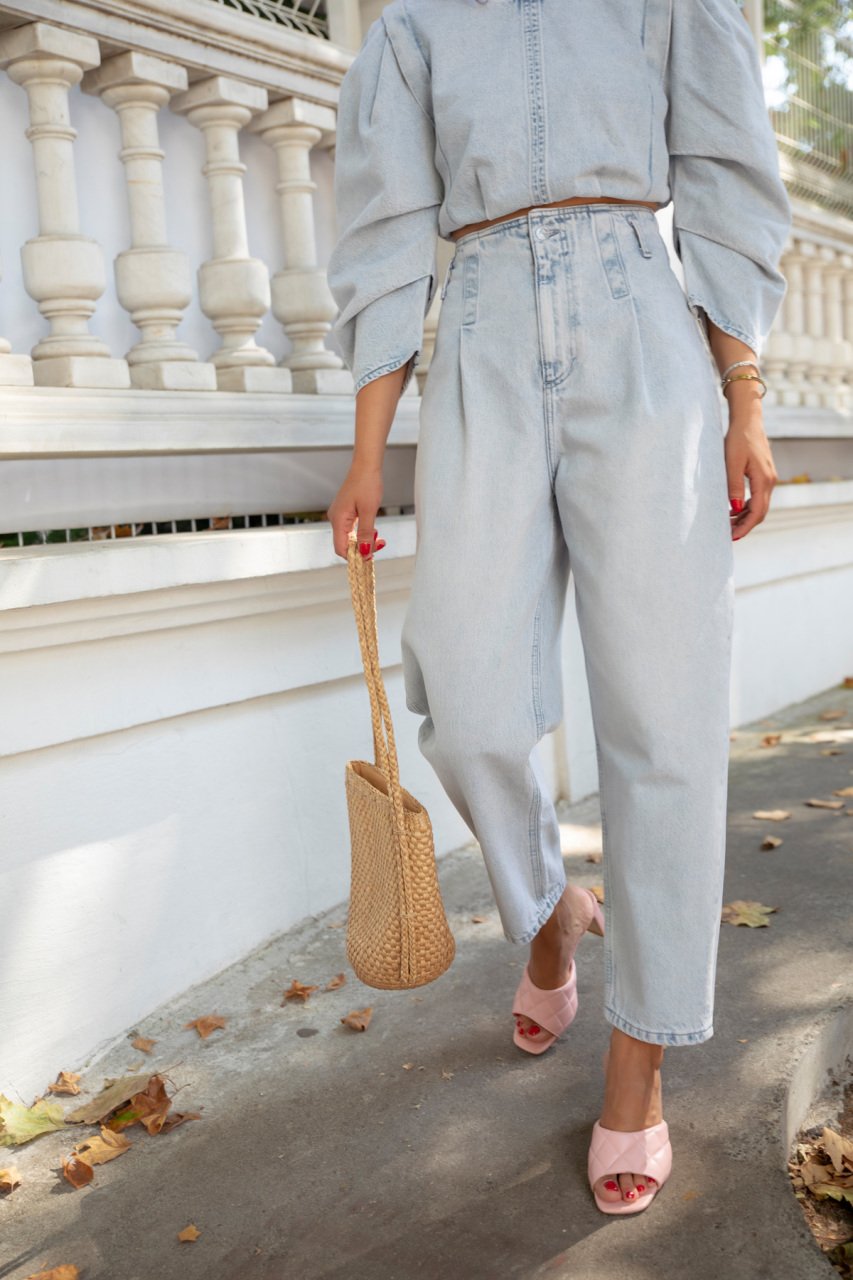
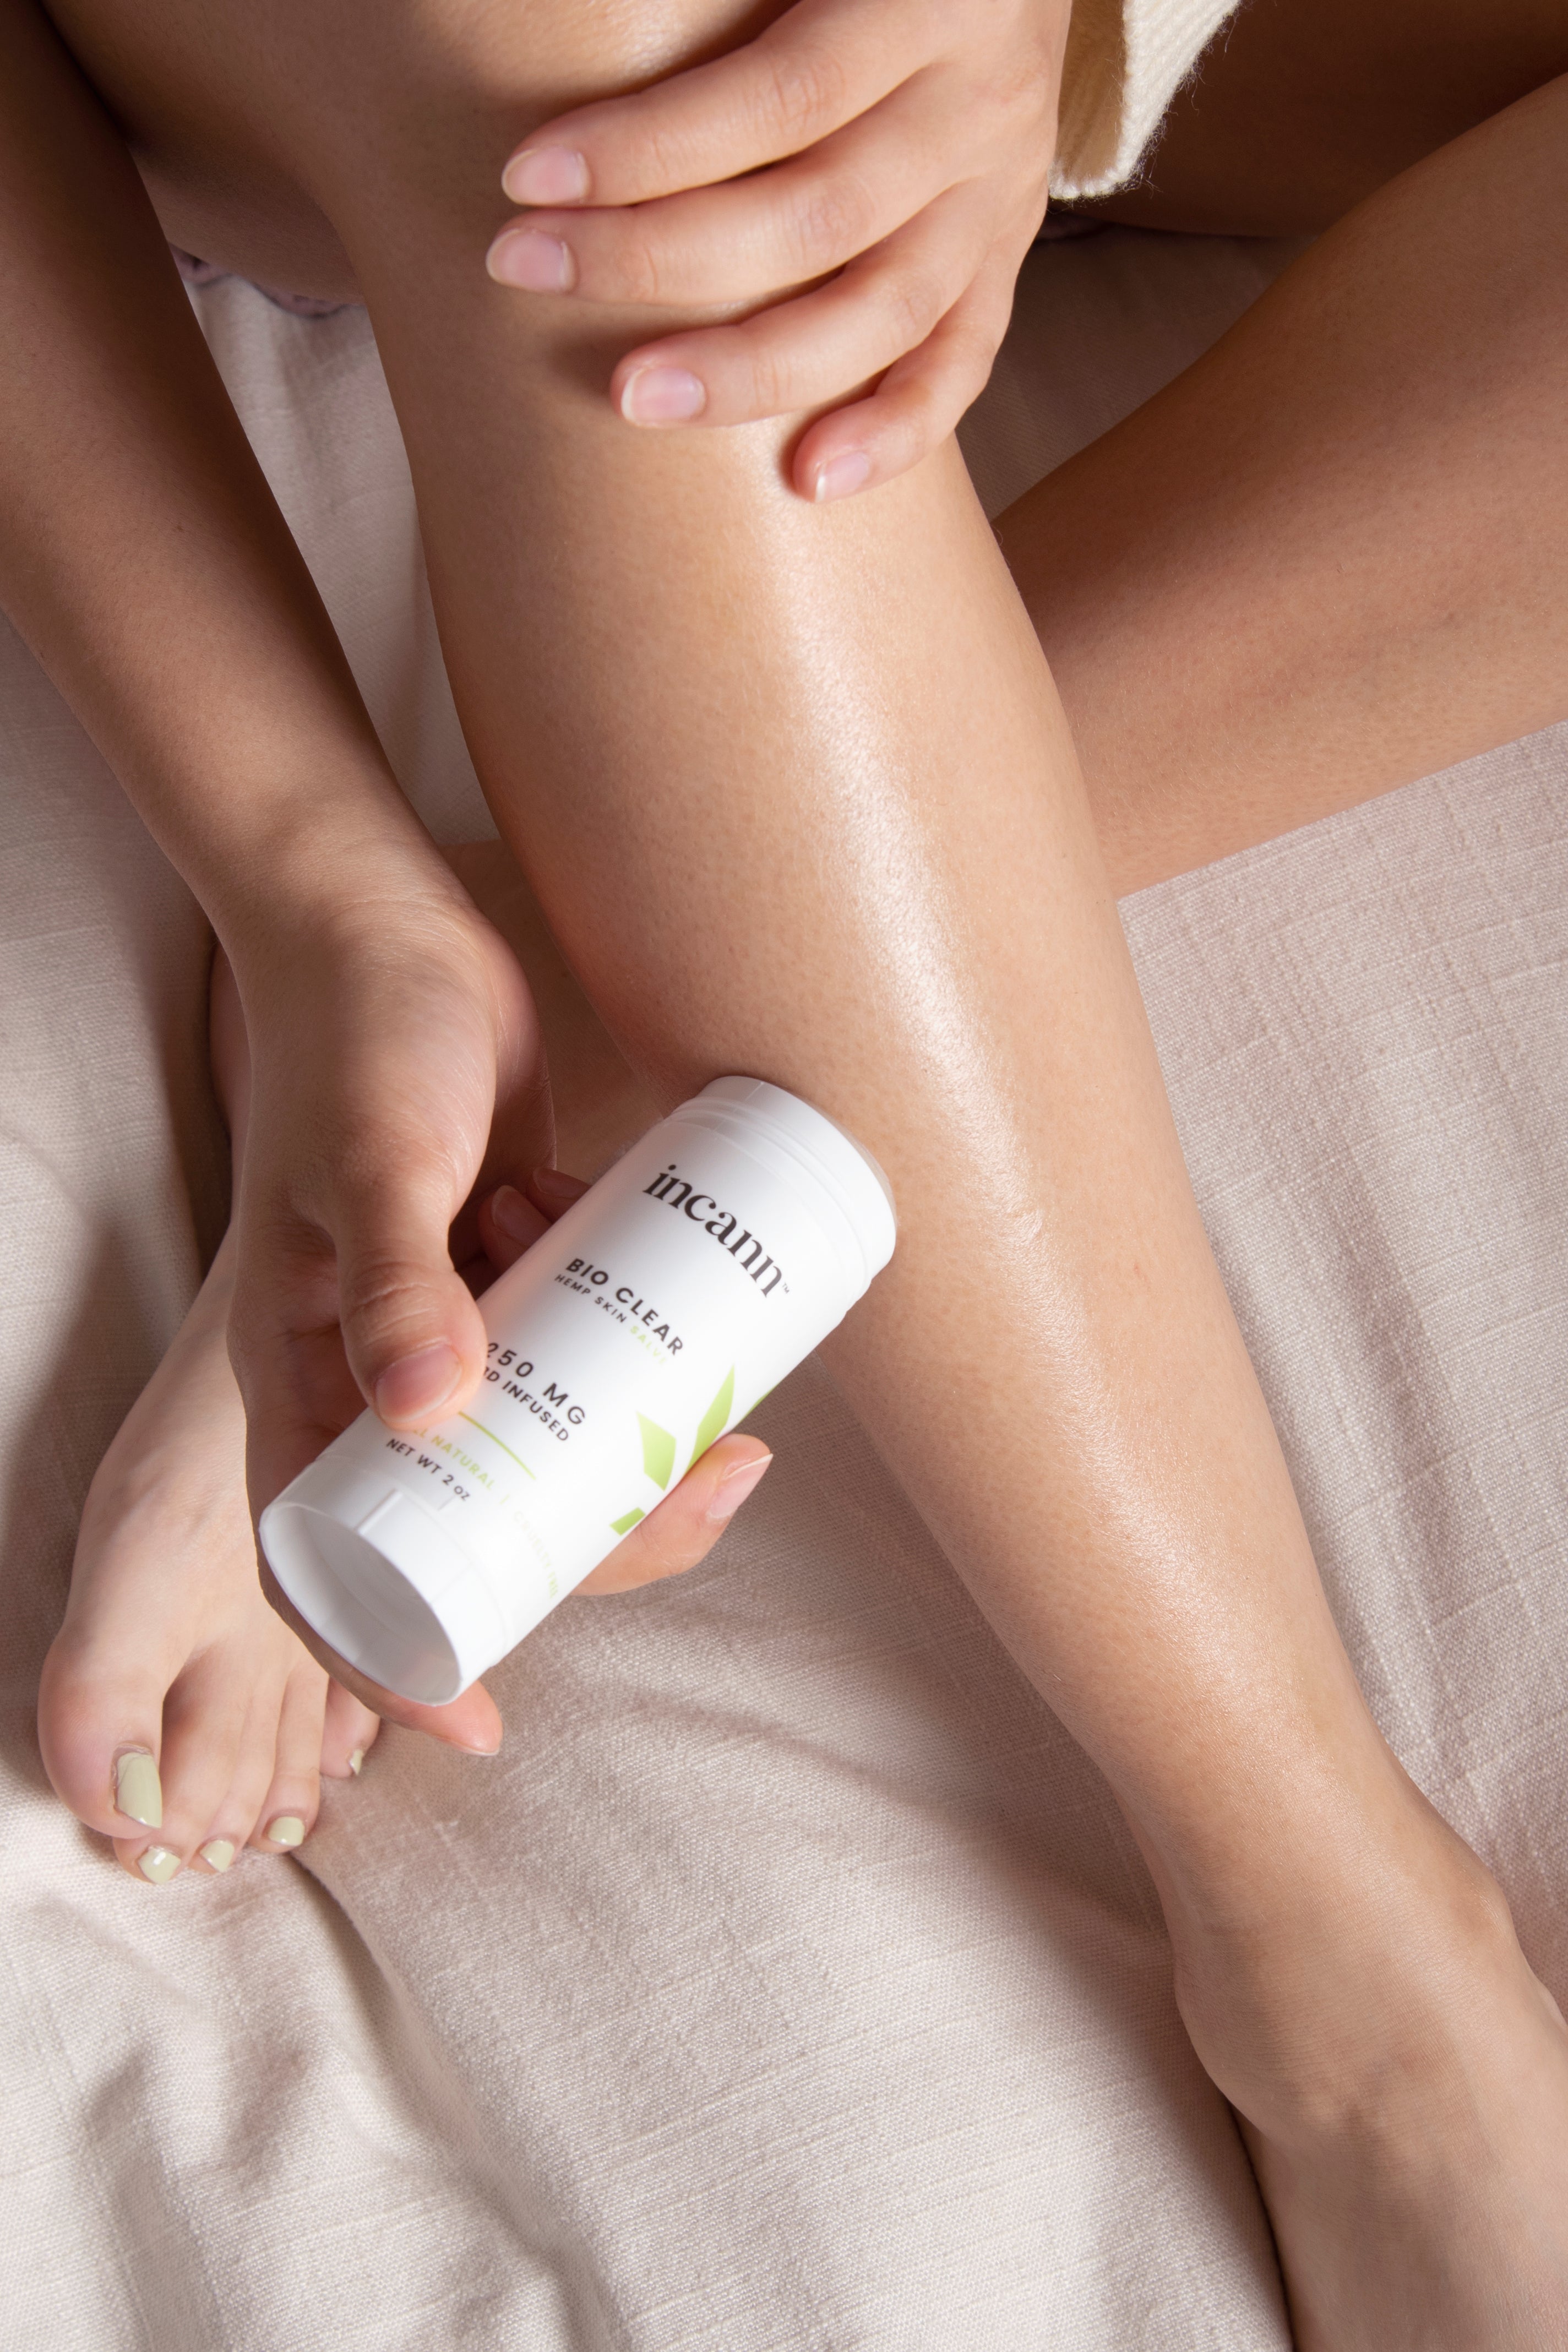
A lifestyle photo is a staged photo that shows your product in use. This could be your product with or on a model, in a set up with other products, or set up in a way that displays the product in someone’s home or business. It would include models and/or props to give your customer an idea of what it will look like in their home. This is particularly great for home decor, and fashion, but can be used with many types of products.
Something that can help with a lifestyle photo is having a quick drawing or mock-up prepared for reference. When creating the mock-up, consider what accessories or decorations you want to include with your product or how your model will be wearing it. Keep in mind that it should be obvious what your product is. You want to highlight the product not have it overshadowed by the props and decor in the photo.
Flatlay

Another common type of product photo is a flatlay. A flatlay is a birds eye view of your product, often with some props or decor around it – a lifestyle photo from a specific angel. It is an interesting way to display your products and is often excellent for use on social media.
Although you do want some props, don’t overdo it. You still want what you’re selling to be the focal point. Keeping your setup simple can often be the best. Consider the background you want, the props you’ll be adding, and how it will look together. For example if you sell tea, have the tea canister or box laying on a blanket with a tea spoon and some of the tea leaves sprinkled around. Very simple, and a great way to showcase the product without it getting lost in the image.
Pro tip: Clean your lens before you start. Whether using your phone or a DSLR, a dirty lens can completely ruin your photos and you might not even be able to tell until you see them on a computer screen or while editing them.

This is an example of a simple product photography set up. I used a white sheet and a small table as the base, then added in accessories as needed.
How to Take Product Photos Step 4: Take The Photos
Now that we’ve talked about how to take good product photos, it is time to make it happen.
Once you have your setup complete you can start by taking some test shots with different lighting and from different angles to see what works for your product. Shooting from a lower or higher angle can make a huge difference, even with a simple white background.
Take multiple shots from each angle or position just in case some come out blurry or there is an aberration on your lens. Always take more photos than you think you need. You can also play with light and shadow to give your images a more moody or airy look – whichever highlights your product best and works with your branding.
If you feel the lighting wasn’t quite what you wanted, don’t worry, you can edit the images afterward to alter this. As long as your product is in focus and the image is clear you’re on the right track. Once you feel like you have enough photos of your products you can move on to editing.
How to Take Product Photos Step 5: Editing
The last step is editing. Editing your photos is where you can actually result in massive improvements. Doing something as simple as increasing the brightness or contrast can drastically change how your product stands out. The best way to edit your photos is by using an app or program you have access to and that you feel you can handle.
You don’t have to immediately jump into Photoshop. It can be overwhelming and other, more simple programs will likely be all you need. Here are some recommendations for both your computer and your phone:
1. Lightroom (mobile and desktop)
Lightroom is an Adobe product so it has some similar features to Photoshop without being quite as complex. You can do things like add presets to make all your photos match, crop or resize your images, play around with brightness, saturation, and shadows. It is available in both a mobile version and a full desktop option and there are plenty of fantastic tutorials online if you’re unfamiliar with it. The mobile version has free features, but the desktop version costs.
2. Snapseed (mobile)
Popular among any would-be photographer for editing on the go. You can use overlays, edit brightness, contrast, and shadows. You can even make more specific edits like altering the way a certain color looks or adding effects to your images. It is very simple to use and it is free.
3. Photoshop (mobile and desktop)
Chances are pretty good you’ve heard of Photoshop. You can edit all parts of your image. From small corrections to brightness and contrast, to adding and removing entire elements from the image. It is definitely not the most beginner-friendly and it’s not free, but if you have something specific that you need to have done you can always find a YouTube video that walks you through it.
4. GIMP (desktop)
GIMP is a free program that does many of the same things Photoshop does. If you already know Photoshop – or are willing to learn – but don’t want to pay the big price tag, you could look into GIMP. It has a similar look and feel as well making it fairly easy to switch to.
5. VSCO (mobile)
This is a great, simple phone app that offers basic editing and filters that you can apply to each image to create a more cohesive look. Additionally, their filters can be lowered and further edited so they do not obscure your images. Bonus, it is free.
Pro Tip: If you are unsure how to use any of these apps or need help with a specific edit, YouTube has loads of tutorials available for whatever program you are using. It is also a great place to see how various photographers edit their images to give you an idea of how your images could improve.
Good Product Photos: Examples
You can see a simple example of product photography that I took with a very basic setup. One is the product (a plant pot) on its own and the other is to showcase it in a lifestyle setup. Both use the same background – a simple white sheet – and natural lighting.

Editing was done using the Snapseed app on my Samsung Galaxy S9, which is a four-year-old phone. Both photos display the product and were incredibly easy to set up.
Using Experts For Product Photography
Not comfortable taking your own photos? No problem. A local photographer who specializes in business or product photography will be able to help you out. This option is not free, but will result in amazing images and it will allow you to spend more time on other parts of your business.
Below we have a list of a few photographers from around the country who you could hire to do your product photography.
- Midknight Genius – Farmingdale, NY
- Fashion Photographer Los Angeles – Los Angeles, CA
- Olivia I. – San Francisco, CA
- From The Hip Photo – Denver, CO
- Andrew Bennet Photography – Austin, TX
- Camerawerks – Phoenix, AZ
- The Line Studios – New York, NY
- Products on White Photography – Chicago, IL
- Pro Photo Studio – Miami, FL
Still looking for a photographer? Don’t see anyone local to you? No worries, we also have some resources you can use to find a photographer in your area.
Here are some great websites out there for freelancers and finding photographers that you can use to find the right fit for your brand and work near you.
- Shopify Experts
- UpWork
- Photobooker
- Snappr
- Freelancer
- Guru
- People Per Hour
- Fiverr
Now you have all the tools you need to create better product photos, improving your chances of selling your products. It will take some practice, but you’re sure to have better results using these tips.